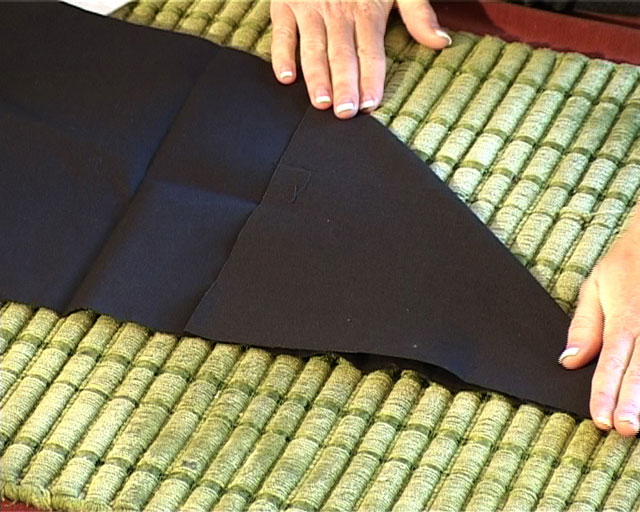
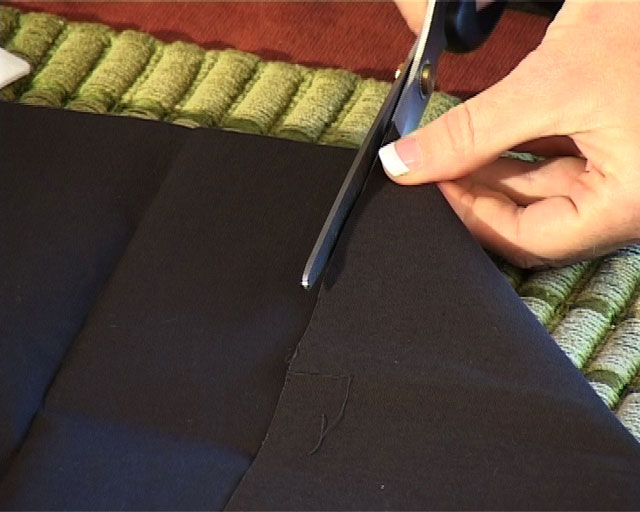
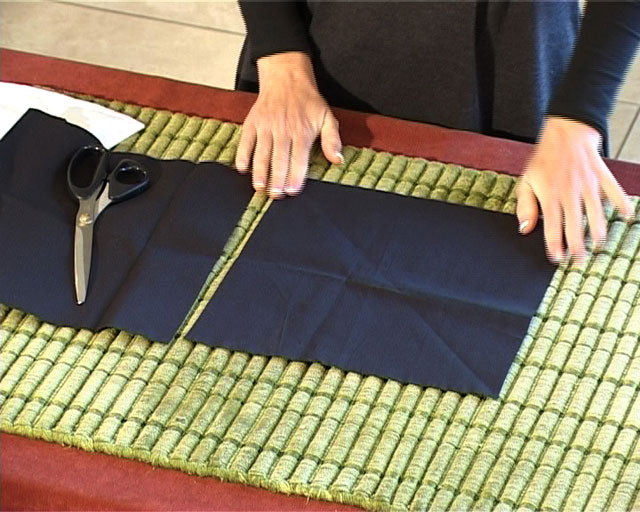
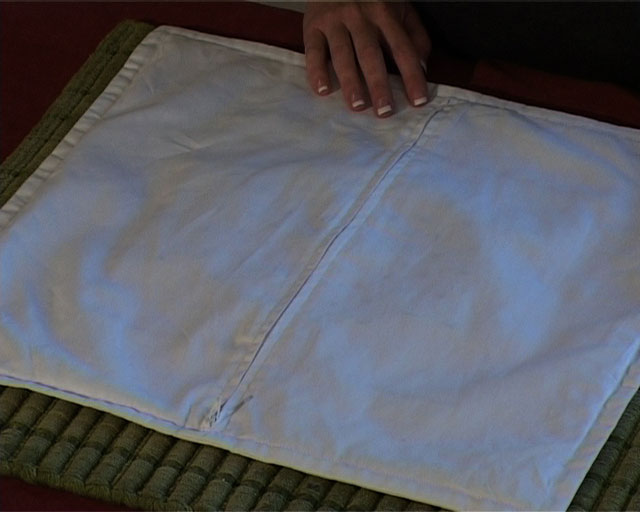
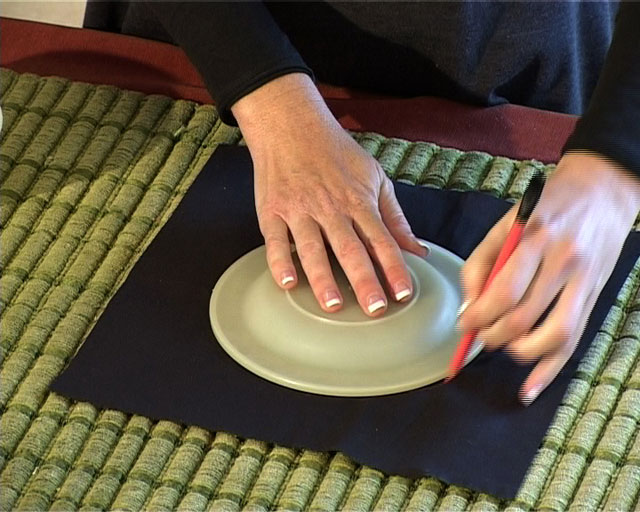
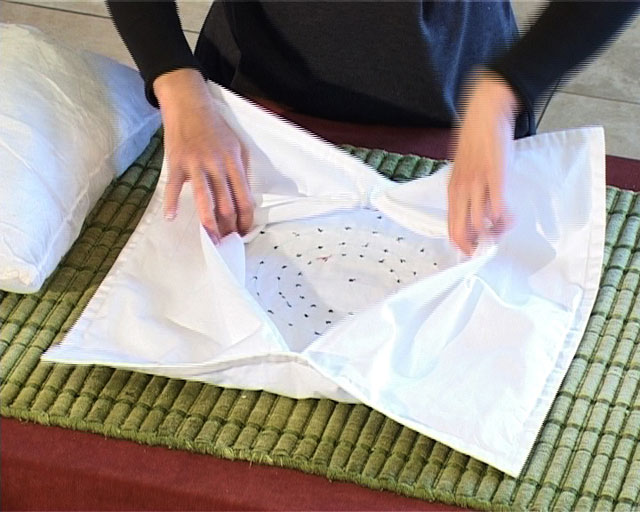
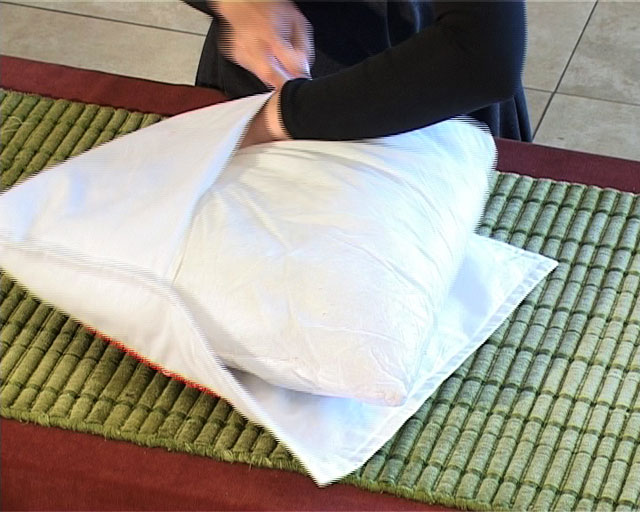
Cut out the front panel of the pillow (50 x 50 cm) and two back panels (50 x 27 cm). Cut a black square of 30 x 30 cm.
Step 2
Place the zipper in the back panels or ask someone to do it for you.
Step 3
Fold a hem on each side of the black square and press. Stitch it in the middle of the front panel of the pillow. Stitch all the way around.
Step 4
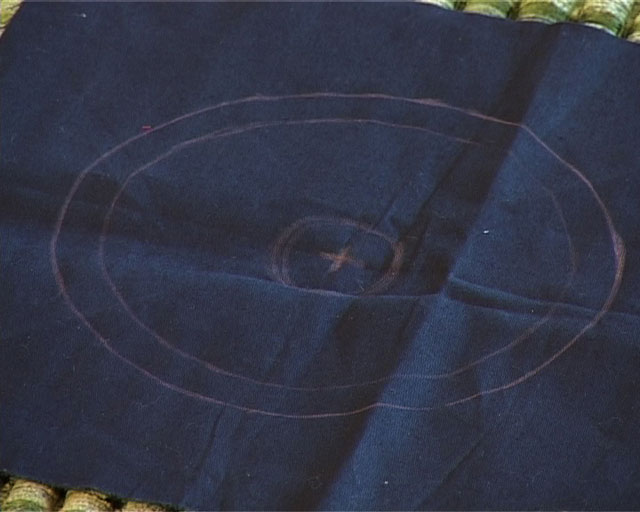
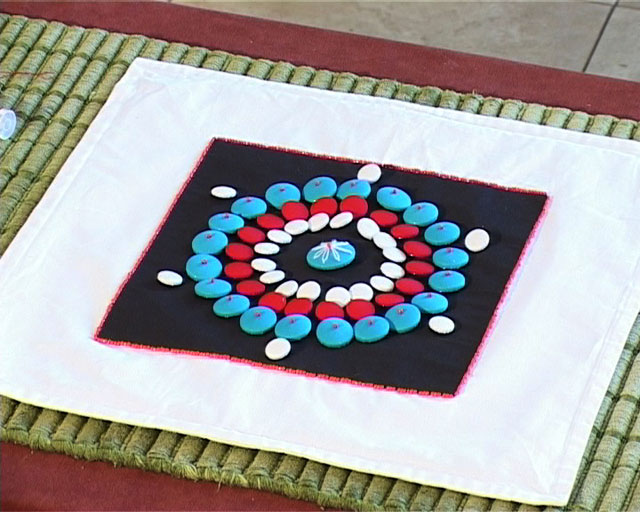
Sketch a design with 3 circles on the back side of the pillow (the wrong side) by using the marking pen. Ensure that the circles are in the middle of the black square (the stitching of the square will show on the back side and can be used as a guideline).
Step 5
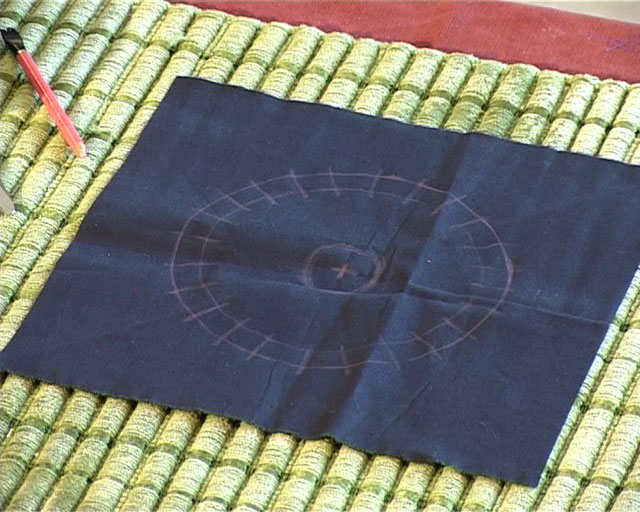
Mark even spaces on the circles for the amount of buttons you want to place on it.
Step 6
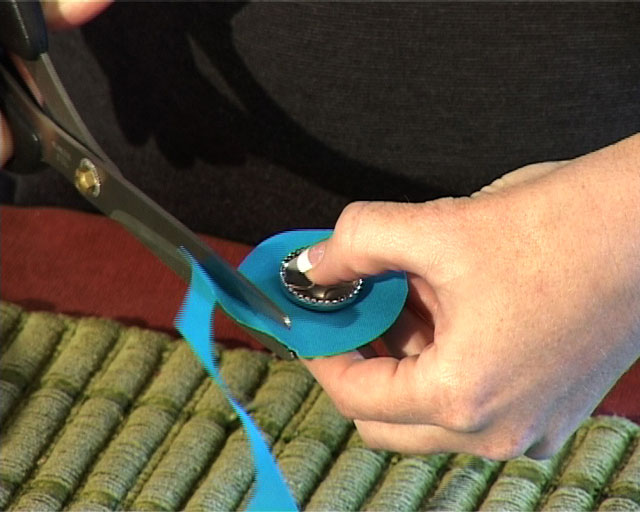
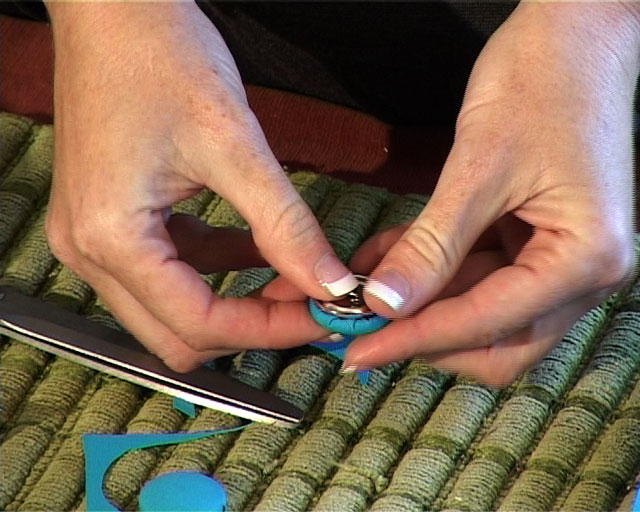
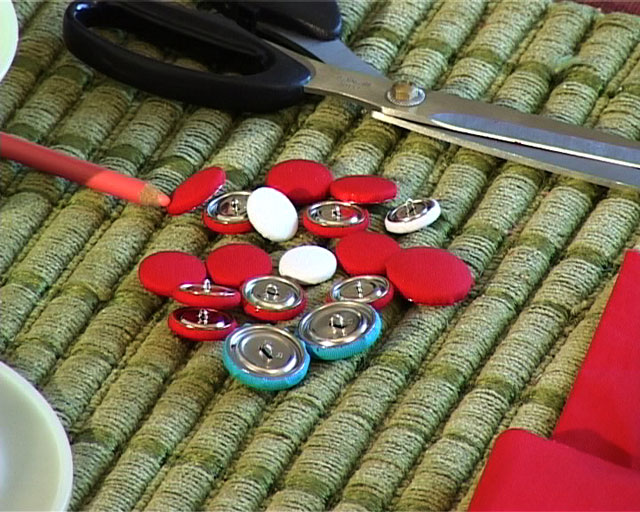
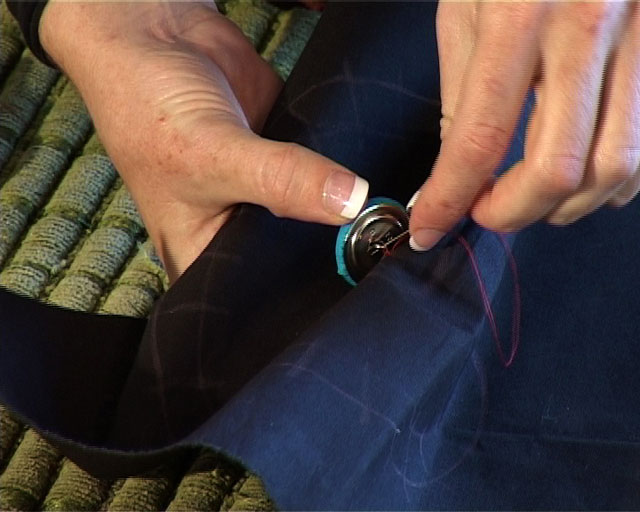
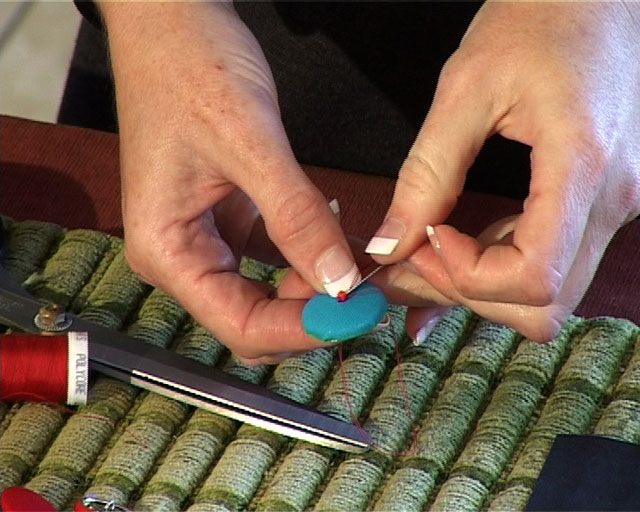
Wrap the buttons in the various colours and stitch them on the marked positions.
Step 7
The beads can be stitched unto the buttons according to your preference.
Step 8
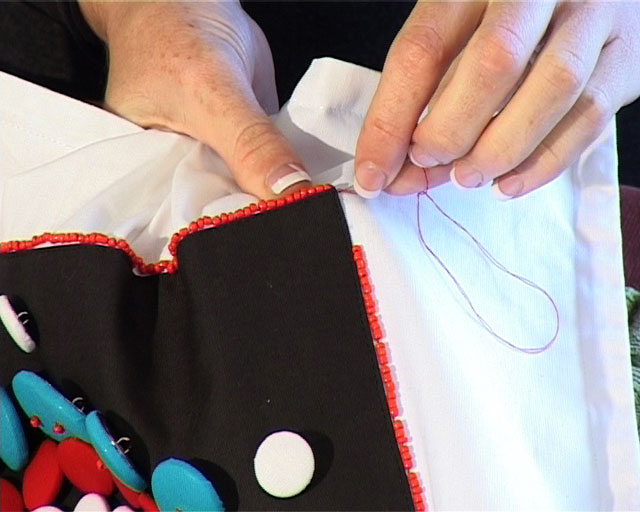
Stitch a row of beads all the way around the square.
Step 9
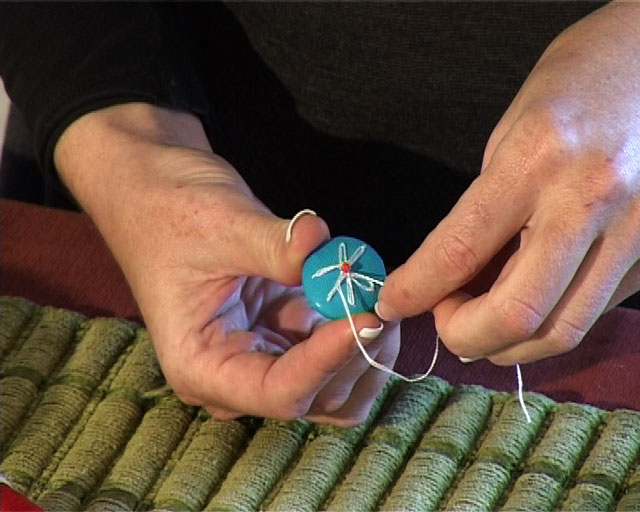
Stitch daisy stitches on the big button and decorate it with a bead in the middle.
Step 10
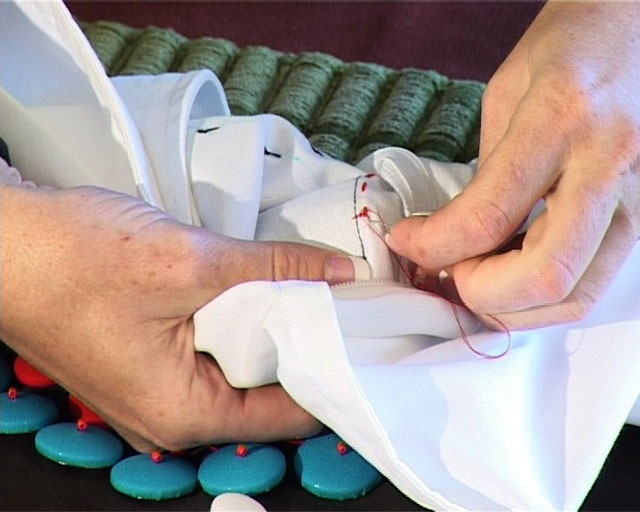
Pull the zipper a bit open. Place the front and back panel onto each other with the right sides to one another and stitch all the way around. Cut the corners away an over lock around.
Step 11
Pull the pillow inside-out. Make sure that the corners are neat and press all the way around.
Step 12
Make a stitch all the way around of ± 1,5 cm wide.