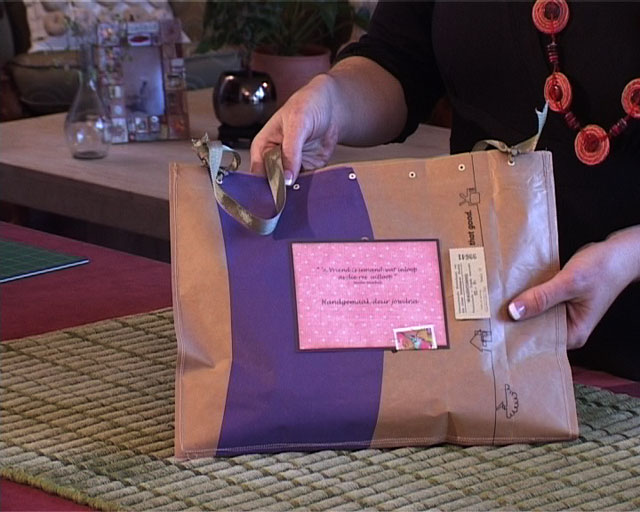
(recycle brown paper bags, newspaper, bubble wrap and paper)
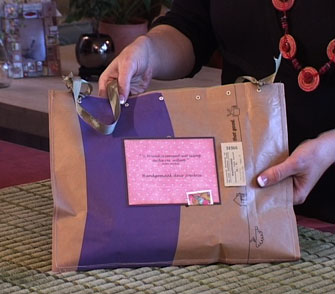
Take-away paper bags have such potential. Transform it into beautiful gift bags or wrap your note book in it. This way you are saving the world from waste.
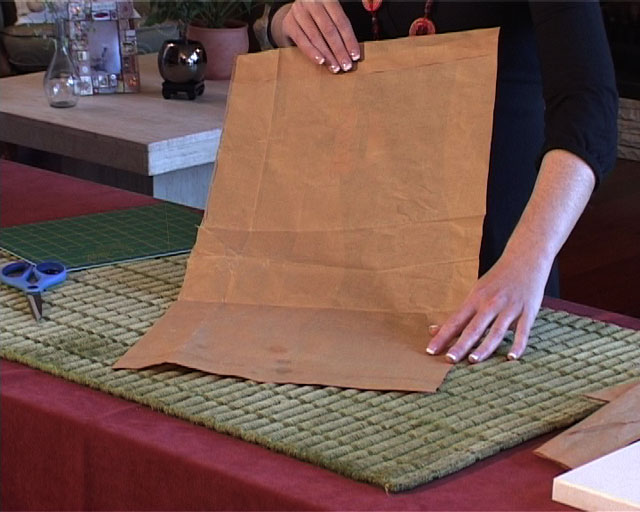
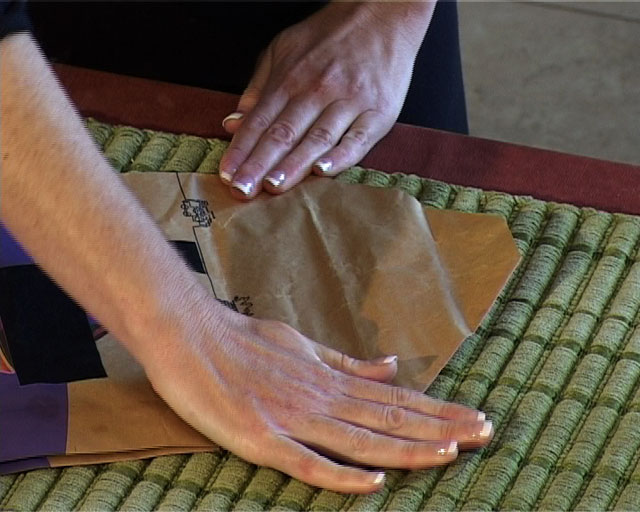
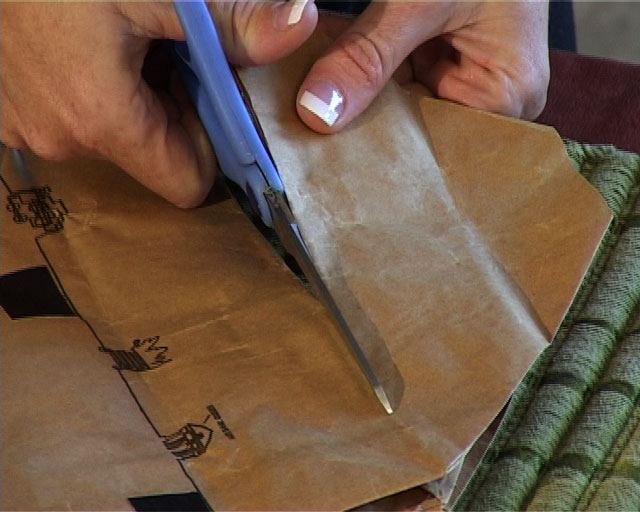
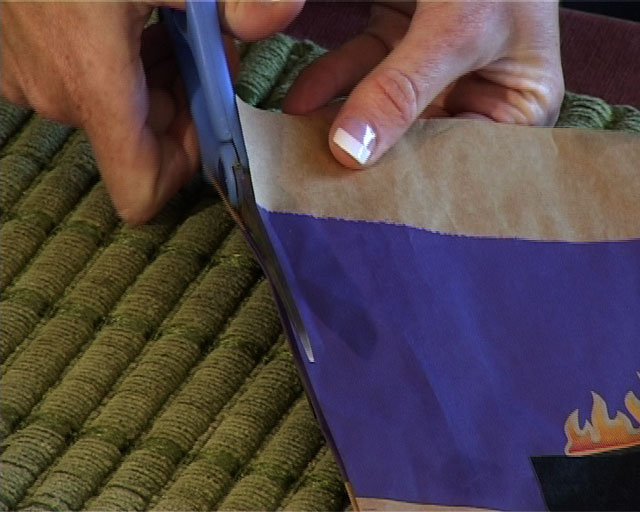
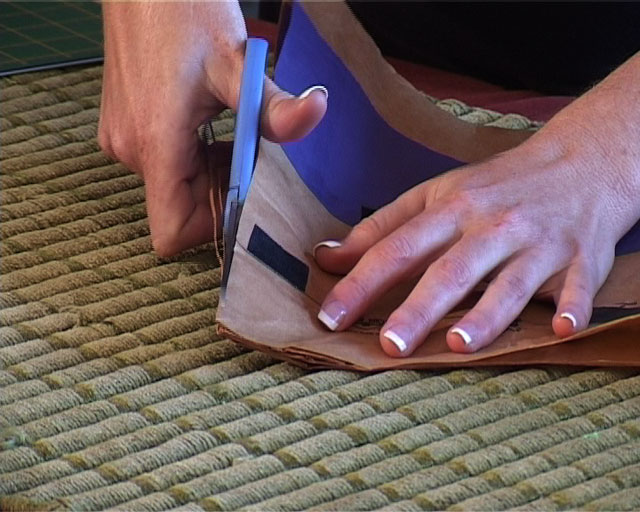
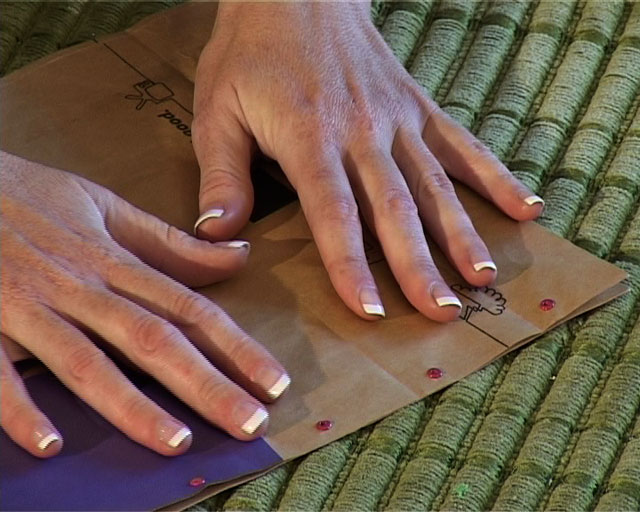
Fold the bottom of the brown paper bag open and tear open where it is glued together. Fold it open and put it on your workbench. Use your hands to stroke it flat. Cut the bottom where it has been glued off to ensure that you have a rectangular bag.
Step 2
Cut the one long-side loose to form an opening. This will be the top of your gift bag. Now the bag has twee short sides and one long side that are open. The other long side is still fixed.
Step 3
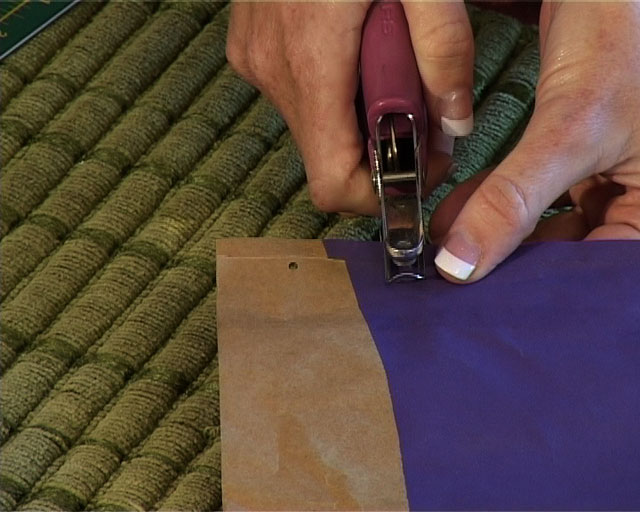
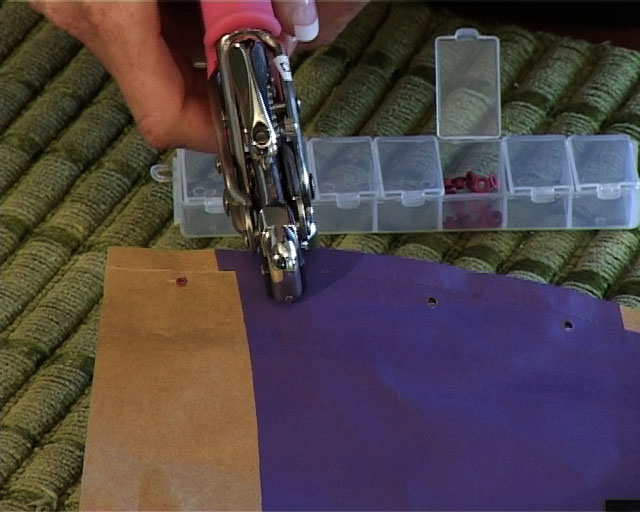
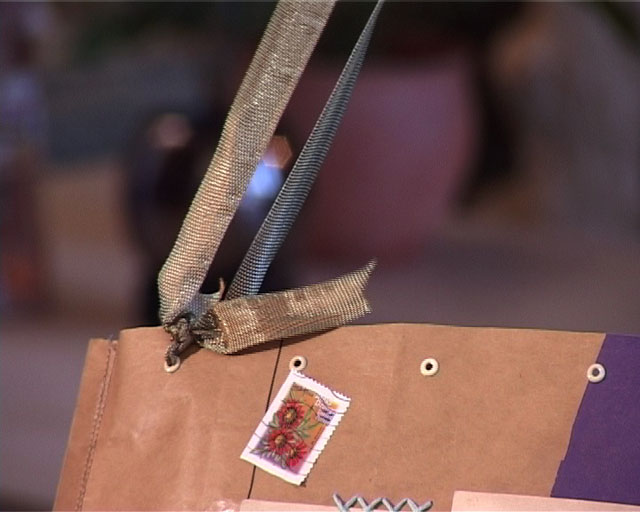
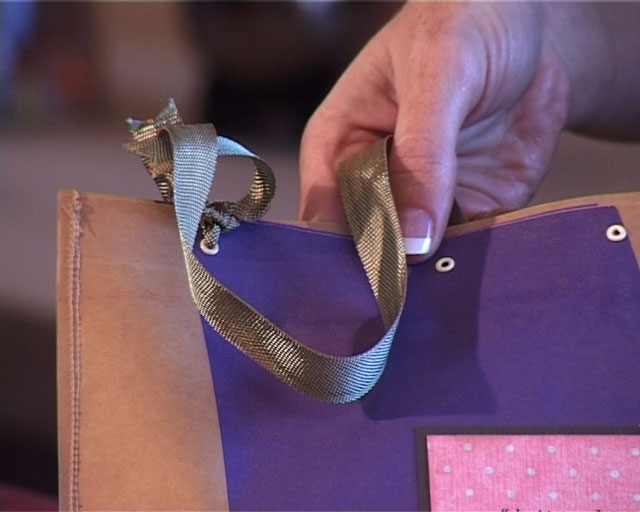
Fold the bag open and make on both sides at the top of the bag little holes with the punch plier. Make sure that the holes are right opposite each other. Put the eyelets in.
Step 4
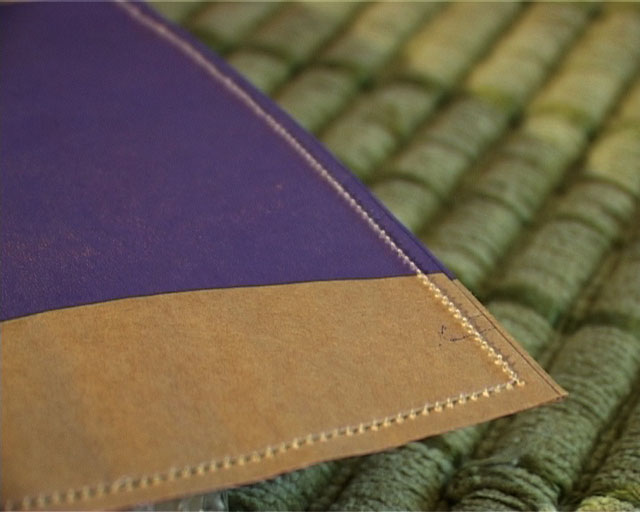
Fold the bag closed so that the holes are on top of each other. Use your sewing machine and sew the two short sides close as well as the bottom side. If you do not have a machine, you can stick the two sides together with double-sided tape and sew it with embroidery thread by hand.
TIP: Try not to work over the double sided tape with your sewing machine. It makes the needle blunt and the machine struggles to work because the needle gets stuck.
Step 5
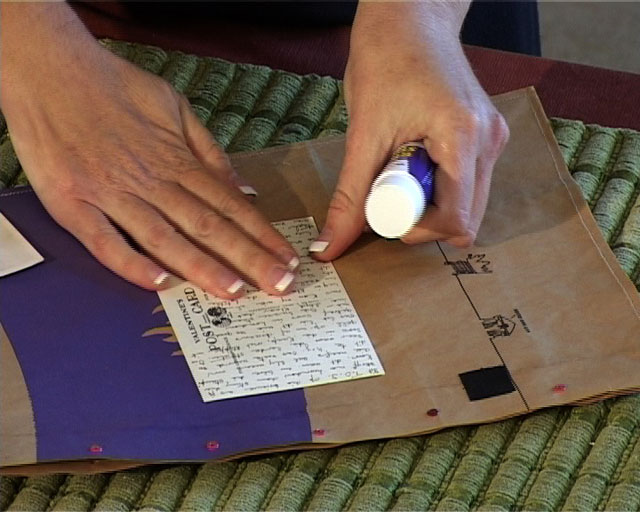
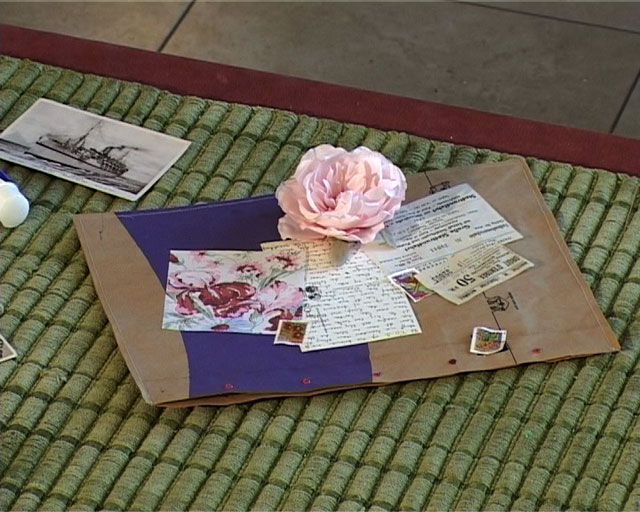
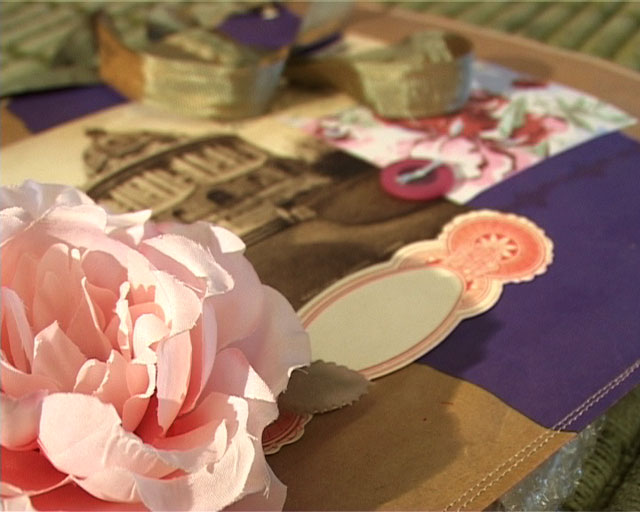
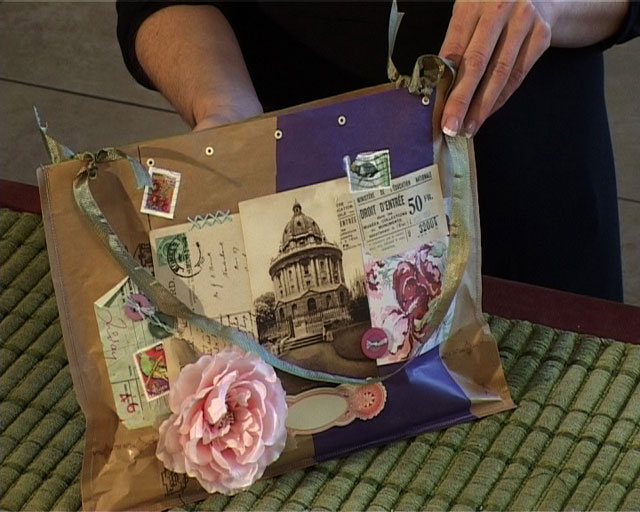
Decorate the front with postcards, post stamps, patterned paper and other decorations. Stick the post cards and paper on with double-sided tape. You can glue the stamps on.
Step 6
Decorate the bag with decorative hand worked stitches to give texture and dimension to the front of the bag. Glue the buttons on and finish them off with embroidery thread. String the embroidery thread through the button holes and tie the thread to the front side. Revel out the thread's ends.
Step 7
Stamp the decorated bag with different designs to finish it off.
Step 8
String the ribbon through the hidden holes and tie the ends in order to form a handle.
Step 9
Stick a beautiful silk rose onto the front of the gift bag to finish it off.
Step 10
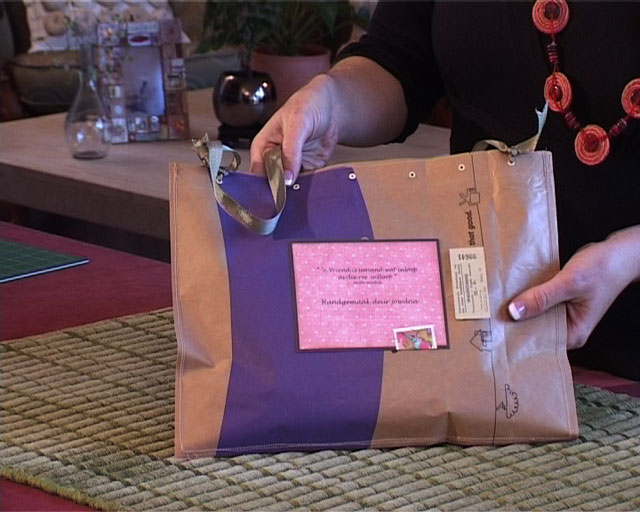
Decorate the back side of the bag with a handmade label and a verse of friendship.
To wrap the gift book/note book
Step 1
Use unprinted newspaper (available at packaging shops) and wrap your book or gift with it. Use double-sided tape so that it is hidden.
Step 2
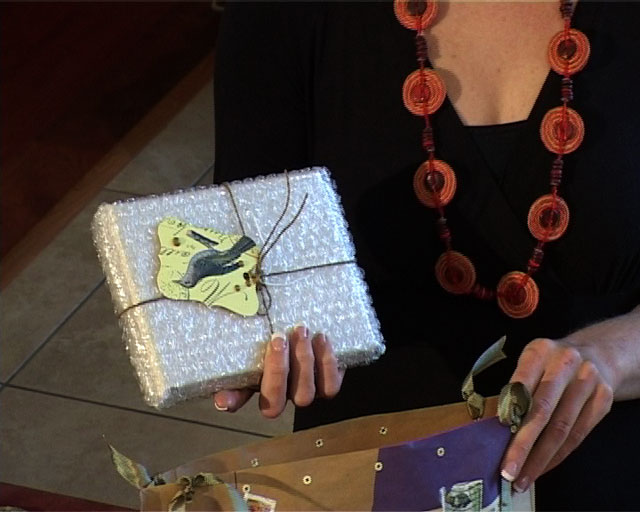
Wrap the book in bubble wrap to give an interesting textured layer on top of the newspaper.
Step 3
Use the handmade cord and wrap it around the book. Tie the handwritten card to it and finish it off with golden wax drops.